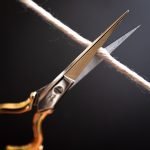
First off Adobe Photoshop’s Content-Aware Fill is magic. Pure magic. I mean, it’s magic because I don’t understand how it does what it does, and sure, it’s just a very sophisticated algorithm that a team human beings – not wizards – created. However, it’s still magic to me, and likely magic to everyone who takes the time to use it.
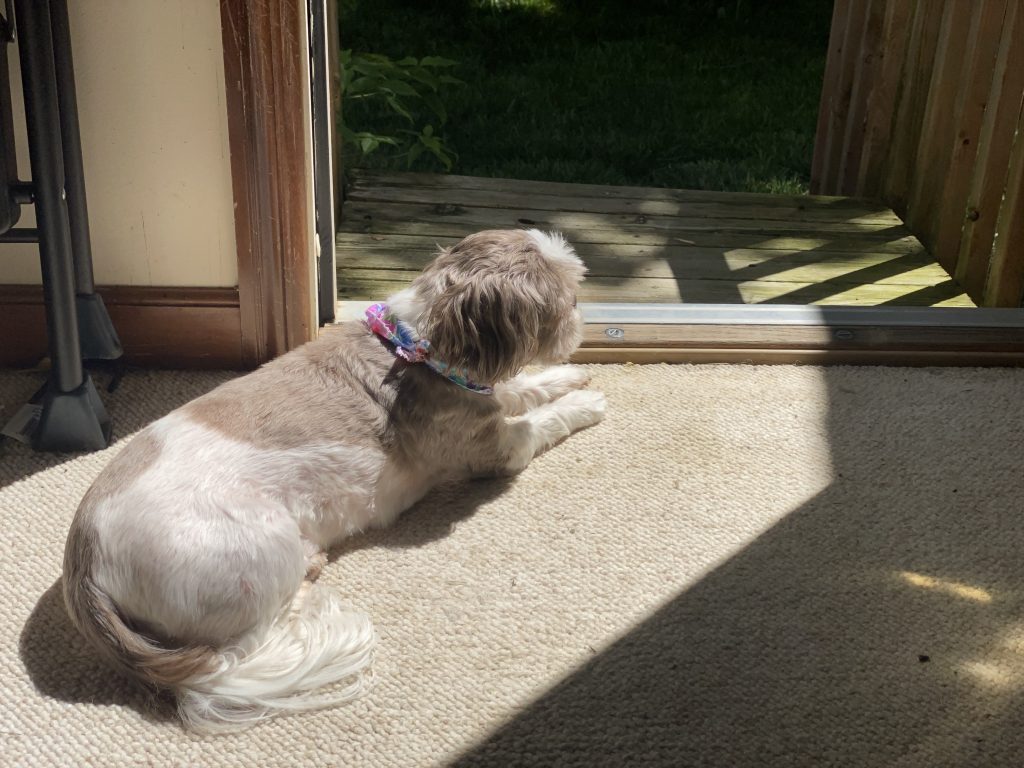
I’ll put the two images side-by-side in just a few moments, but first, I want to show you an awesome picture of Lucy just hanging out in the sunbeam this morning. Isn’t she cute? She’s getting older, which I might have mentioned before, so the warmth seems to help her arthritis. Limbers her up. So I make sure she gets plenty of sunshine when she’s in the mood for it.
Isn’t Lucy a super cute dog? Yes, she is. She’s also a shih tzu, and is a rescue dog. She also gets regular grooming, as you can see by her pretty, seasonal bandana. She’s a little spoiled – but so am I!

So anyway, for the majority of the photographs that I’ve taken since the early 80’s, I’ve tried my best to capture images as best I can in-camera. This means learning about and practicing exposure, focus, framing, working the shot, taking multiple images, cleaning things up before you take the picture…that sort of thing. Of course, I started with black and white film, darkrooms, negatives and photographic paper. Oh, and don’t forget multiple trays filled with chemicals and red lights. All sorts of fun. But when you finally hang that print up to dry, you know you made that shot, from start to finish.
Sure you had some creative control with the duration of the exposure, dodging and burning, cropping, and enlarging, but basically, the picture you took with your film camera was what you got when you printed it out, within a certain margin for all the adjustments mentioned. You had to spend a lot more time creating an image than you do now.
With digital photography, I’m no longer limited to the number of exposures on a roll of negative film, or how much money I have to print those images. For a reasonable amount of money, I can have a huge memory card, or ten, and fill them up with thousands of images that I can select and adjust later on, with no additional expenditure, aside from my time.

Granted, back when I started shooting with my first Canon DSLR, the EOS 20D, I was a Spray and Pray type of guy. I took a lot of shots. Now, I’m much more thoughtful about my shooting. My gear is lighter, for the most part, in that I’m primarily using the Fuji X-Series mirrorless cameras (like the X-T2 and the X-T3) now, with the Canon and Nikon bodies and lenses being the heavy-hitters that mostly stay home, being workhorses in the studio, saving my back and shoulders the strain of carrying a bowling ball or more’s worth of weight around all day.


So the point I’m trying to make is, although I don’t have to be as careful and thoughtful as I used to be with my various film cameras, I still like to take my time when shooting. When I can. I can’t always. Sometimes, you just have to capture the moment, and sometimes the moment is messy.


As you can see, Annie was doing her thing, and I was on the couch, reclined, with only my X-T2 and the long telephoto lens. If I had moved the recliner, Annie would have immediately heard the sound, and jumped up, ruining the shot. So I had to grab what I could, quickly, to capture the essence of The Sploot.
It was only after I got it into Adobe Lightroom that I saw the mess on the floor, and the out-of-focus reflective object in the lower left-hand corner.
So first off, I always do as many adjustments as I can in Adobe Lightroom first. All adjustments to RAW images are non-destructive, and are the first step in the RAW editing workflow. Then, because I wanted the content-aware fill, I had to open the file in Photoshop. That transfer happens in a lossless TIFF file, so transferring back and forth is much better than with a JPEG. (I’m a serious proponent of full RAW shooting and only use JPEG when I need something quick and dirty, or as an export file format from my edited RAW files.) I open the adjusted file in Adobe Photoshop, do the work, and then when I save and quit, it opens that edited TIFF right back up in Lightroom, ready for export. It’s a very tight workflow.
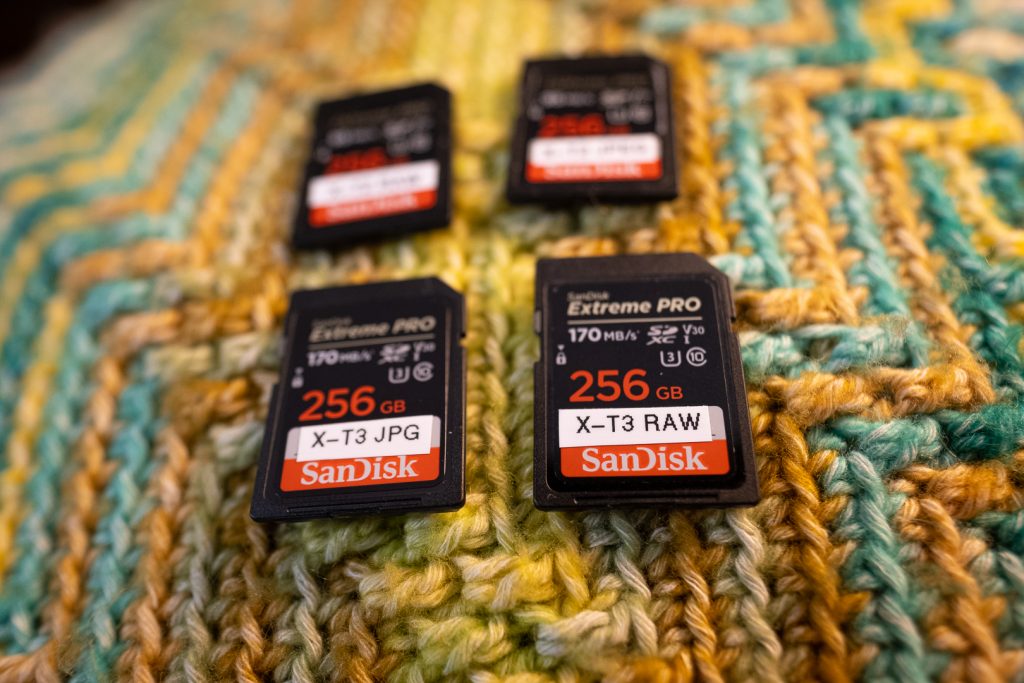
Next, why do I shoot RAW? I shoot RAW because each time you save a JPEG file out, artifacts are added. That includes when the camera takes the RAW data from the image sensor and adjusts it prior to saving it out to the camera’s memory card in JPEG format. So before you’ve even pulled the memory card out of the camera, you’ve lost fidelity! True, JPEG files look better than unedited RAW files, but that’s because the camera does a lot of magic and adjustments before it writes out that JPEG file. And each of those “edits” the camera makes are permanent. They are “baked-in” to the image. Things like white balance (colors casts in images) can’t easily be corrected without causing serious damage to the image itself.
Here’s an example: I took a picture of a bird far away with my Fuji and the long lens. I was shooting in RAW mode, and I forgot to change the white balance from the previous manual setting I’d intentionally used to remove an obvious color cast in a previous shoot. This manual white balance setting was perfect for before, but it was obviously wrong for this shoot into the sky. Although one might say that the blue looks pretty cool (both literally and figuratively), the desired output was more monochromatic – with a dark sky, and a silhouette of a bird. The blue color cast was a distraction, and I was able to adjust this easily in Adobe Lightroom – non-destructively – without losing a single pixel of fidelity. That’s pretty cool.


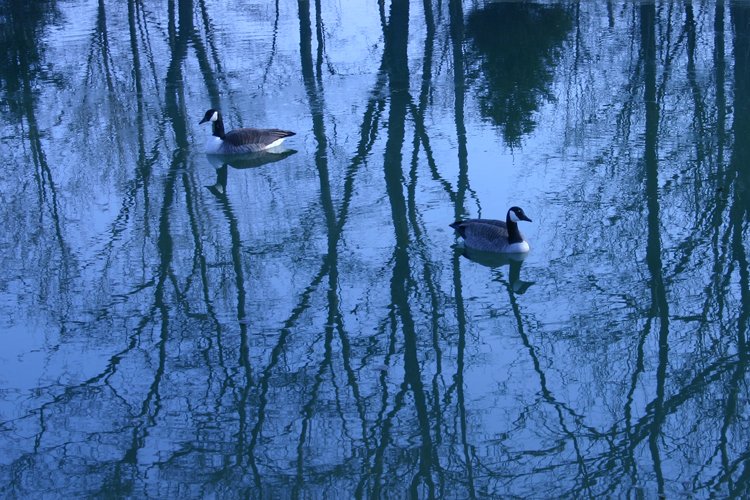
When I first started using my Canon 20D, I forgot to shift the camera into RAW mode. I had the white balance set to manual, just like you see here, and I shot some geese on my pond. The whole shot came out very blue and, although it was pretty, it wasn’t my intention to shoot it that way. I only realized I had shot JPEG afterward, when I was already home, and the geese were already gone.

Bob Ross used to call these “Happy Little Accidents,” and although they’re sometimes fun, it’s better to be able to make creative adjustments like this after the fact, with a RAW image, than to accidentally add a little too much blue, and not be able to remove it properly later. In the case of the Blue Goose Duet shot, that was totally not my creative intent.
So in the end, what I’m trying to say is, JPEG is probably fine for most people, but if you want more creative control, learning how to shoot and process RAW images might be the way to go. It’s a slightly longer workflow, requiring a little more knowledge and practice, but with the Internet and video tutorials, there’s really not a lot you can’t learn and do, especially with folks wisely staying home to flatten the pandemic curve, we find ourselves with a little more time on our hands.
I’ll leave you now with a photo of Annie being super-cute and sleepy on the couch, stealing my seat as I had moved my meat. See you tomorrow, on Day Twelve of my Social Media Break!

